How To Repot a Spider Plant Indoors – Easy Repotting Step-by-Step Guide
Spider Plant Repotting: Rejuvenating A Struggling Plant
Repotting a spider plant can feel a little intimidating—especially if your plant already looks like it’s struggling. But in many cases, repotting is exactly what brings it back to life.
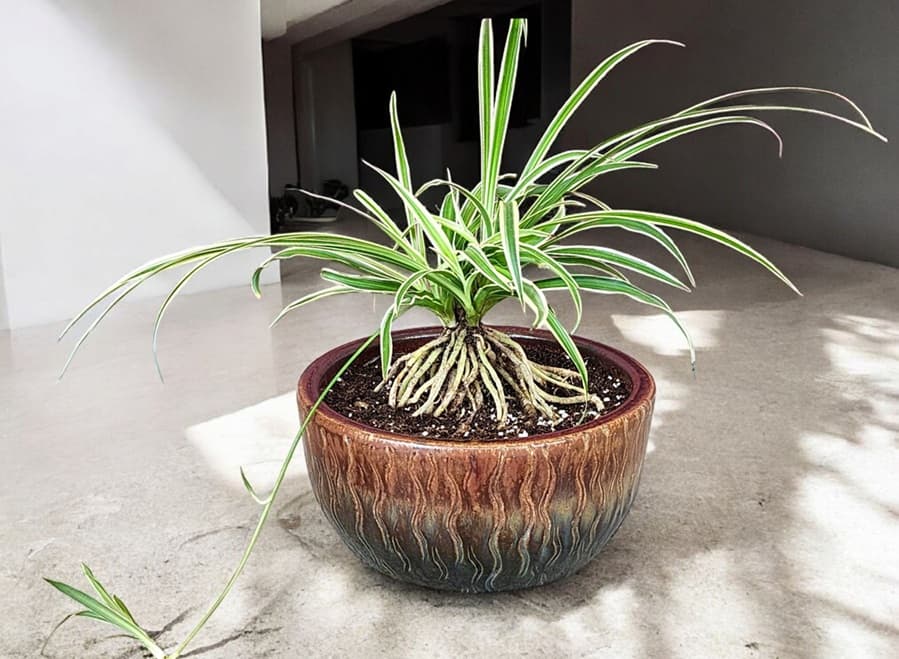
Spider plants grow fast, and their thick, tuberous roots can quickly take over a pot. When that happens, the plant can’t get enough water or nutrients, and you may start to notice signs like yellowing leaves, dry soil, or slowed growth.
Knowing when to repot a spider plant is the first step—but doing it the right way is what helps your plant recover and thrive. With the right timing, fresh soil, and a little extra space, you can turn a stressed-out spider plant into a healthy, growing one again. Deciding when to repot a spider plant is very important.
Easy Repotting Tips For Spider Plants
Repotting a spider plant is best done in early spring or summer when the plant is actively growing. While these plants actually prefer being slightly root-bound to produce flowers and “spiderettes” (pups/babies), they need a new home if their thick, tuberous roots start cracking the pot or pushing soil out the top.
BONUS TIP!
For a clean and easy repotting, use the “bottomless pot sleeve” method: cut the bottom off the plant’s old plastic pot and make vertical cuts up the sides, keeping the rim intact. Turn the plant upside down and use this “sleeve” to contain the foliage while you repot.
Repotting a Spider Plant Tips & Tutorial
Preparation and Timing
Water first: Water your plant thoroughly 1–3 days before repotting to reduce transplant shock and make the roots more pliable.
Pot selection:
Choose a pot that is only 1–2 inches larger in diameter than the current one. Using a pot that is too large can lead to excess moisture and root rot.
Drainage: Ensure the new pot has drainage holes. Spider plants prefer shallow or wide
The Repotting Process
Remove the plant: Lay the pot on its side and gently slide the plant out. If it’s stuck, run a dull knife around the inside edge. Remove the root ball from the pot and clear most of the soil from the roots.
Loosen the roots: Gently tease and untangle the roots apart with your fingers to uncurl them.
Inspect and trim: Look for soft, dark brown roots (signs of rot) and trim them away with sterilized shears. Healthy roots should be firm and white.
Add new soil: Fill the bottom of the new pot with enough soil so the plant sits at its original depth.
Secure the plant: Place the plant in the center and fill in the sides with fresh soil, pressing lightly to remove air pockets
Tap Tap Tap: Gently tap the sides of the pot until the soil evens out on the surface. NEVER pack the soil down around a spider plant, nor its crown because it needs to breathe.
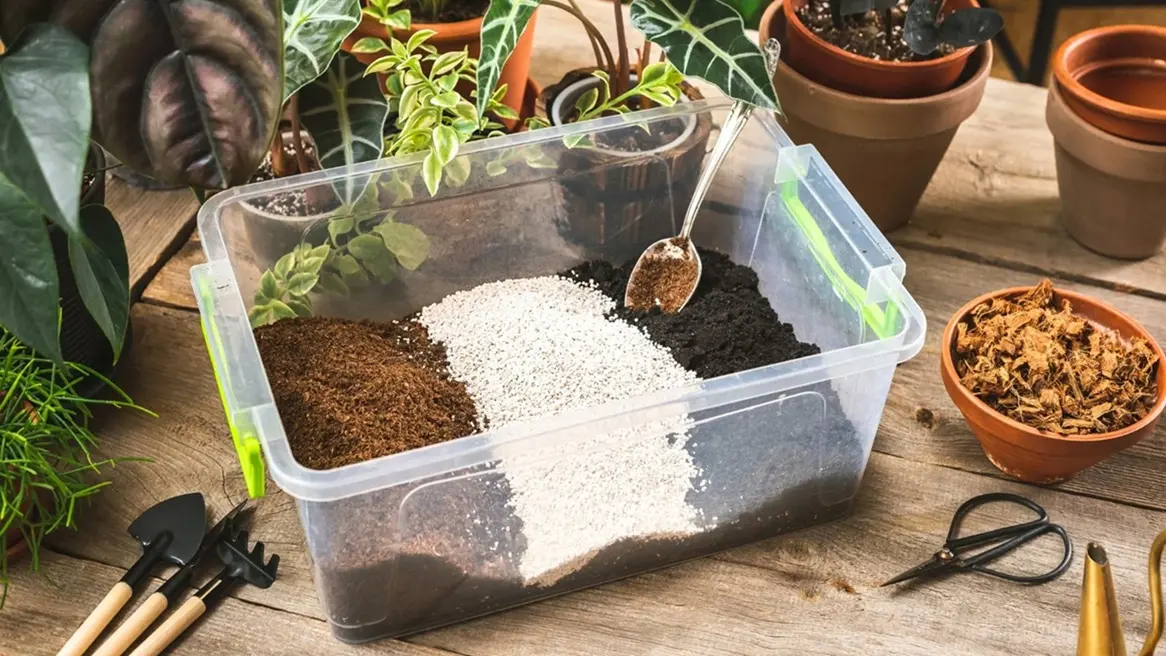
Best Soil Mixtures
Spider plants need well-draining soil that still retains some moisture. You can use specialized mixes like Gardenera Labs Spider Plant Potting Mix or create your own blend. When I don’t mix my own, I personally prefer this potting soil mix from Little Emerald Thumb on Etsy, and use it for all of my plants.
Standard DIY Mix: 50% garden soil, 25% vermicompost, and 25% perlite.
Drainage Boosters: Adding perlite or pumice improves aeration, while vermiculite or coco coir helps with moisture retention.
Pest Prevention: Peat-free mixes like the Spider Plant Imperial Potting Soil can help prevent fungus gnats.
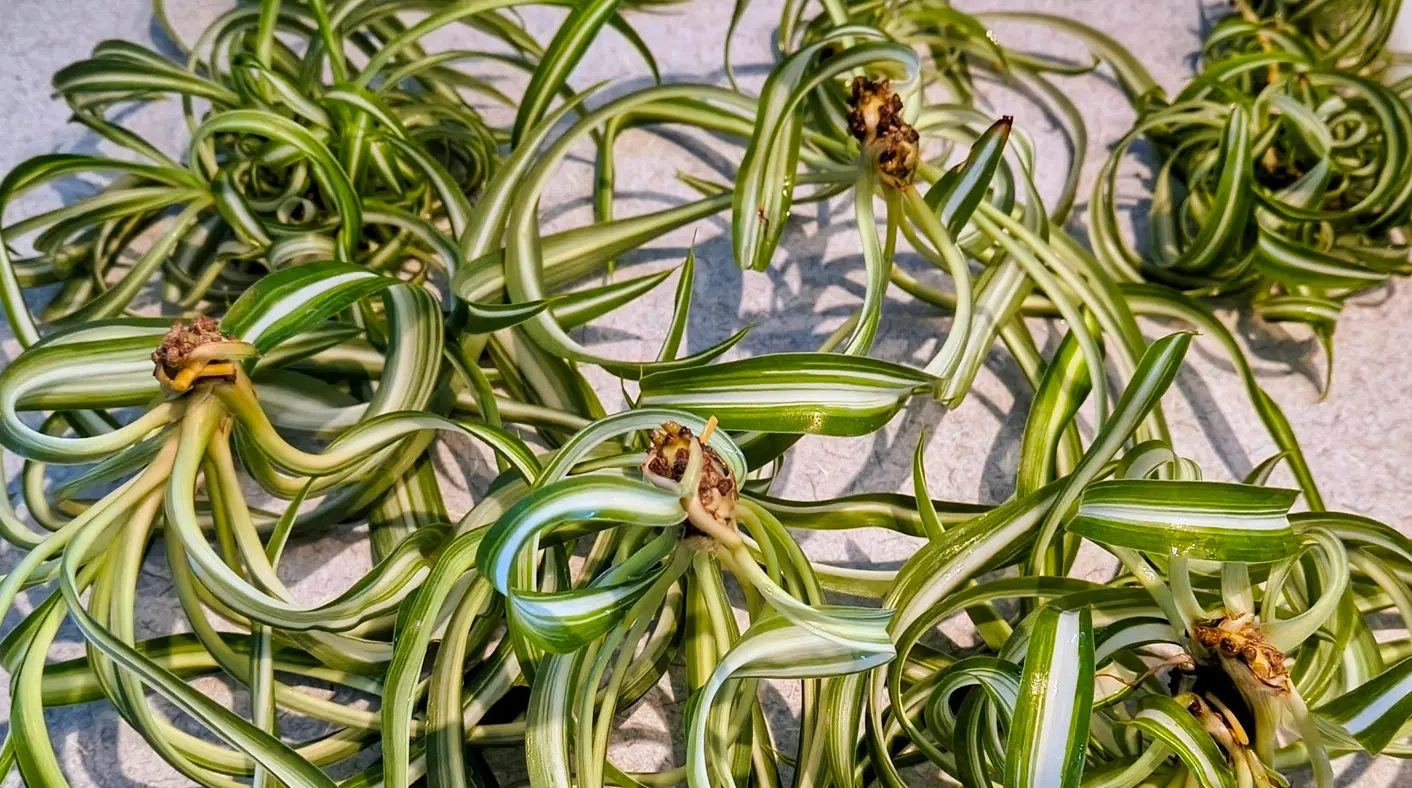
Splitting, Dividing, and Repotting Spider Plants
The best time for dividing or splitting spider plants is when they need repotting. This type of propagation does require a bit more tact than the others, as the fleshy roots are fragile and can break off easily. For this reason, large plants are better for this method. Divide the plant by pulling or cutting it apart with clean secateurs and/or a knife. The best time to divide and pot spider plants obtained by division is in spring. Planting spider plant cuttings, the spiderettes, is possible all year round.
Follow these step-by-step instructions to divide your spider plant:
6 Steps To Repotting A Spider Plant
Too Root Bound

Gently Loosen Roots

Repot & Water

Remove From Pot

Divide & Separate

Replace & Enjoy!

Quick Repotting Tips
Although spider plants prefer being slightly tight in their pots, overcrowding can eventually kill them if not moved to a larger container.
Care After Repotting a Spider Plant
After repotting a spider plant, water it thoroughly to settle the soil around the roots, then place it in bright, indirect light, avoiding direct sun for a few days to reduce shock. Allow the top 1-2 inches of soil to dry before watering again, as overwatering can cause root rot in new soil. Wait 4-6 weeks before fertilizing to prevent root burn.
Important After Care Instructions:
Conclusion
Spider plants usually recover quickly after repotting and often respond with fresh new growth once settled. Give your plant a little time, avoid overwatering, and let the roots adjust. With the right pot and fresh soil, repotting can be one of the best things you do for a healthy spider plant. 🌿
Repotting may look intimidating, but spider plants usually handle it very well. With fresh soil, the right pot size, and a little patience, most plants bounce back quickly and reward you with healthier roots, fuller growth, and happier leaves.