7 Biggest Spider Plant Problems and How to Fix Them Fast
Why Spider Plants Struggle (And How to Fix Them Fast)
Understanding the Most Common Issues Before They Get Worse
Spider plants are known for being tough, low-maintenance houseplants, but even they can run into problems when their environment isn’t quite right. Things like water quality, lighting, soil conditions, and humidity can all impact how healthy your plant looks and grows.
The good news? Most spider plant problems show clear warning signs early on—brown tips, yellowing leaves, slow growth, or pests—and nearly all of them can be corrected with a few simple changes. Once you understand what your plant is reacting to, it becomes much easier to fix the issue and prevent it from coming back.
The 7 Biggest Spider Plant Problems (and How to Fix Them)
Spider plants (Chlorophytum comosum) are hardy, but they often struggle with specific environmental factors. Here are the the seven most common(and solvable!) problems spider plants can encounter.
Spider plants (Chlorophytum comosum) are known for being easy to care for, but they’re not completely problem-free. Most issues come down to water, light, or environmental stress—and the good news is, nearly all of them are easy to fix once you know what to look for.
Here are the seven most common spider plant problems and exactly how to solve them.
1. Brown Leaf Tips
One of the most common complaints with spider plants is browning at the tips of the leaves.
Cause:
Spider plants are sensitive to chemicals like fluoride, chlorine, and boron often found in tap water. Low humidity and dry soil can also contribute. In some cases, excess fertilizer leads to salt buildup in the soil, which damages the roots and causes tip burn.
Solution:
Switch to spring water, filtered water, reverse osmosis water, or rainwater. Increase humidity with a pebble tray or light misting, and avoid over-fertilizing.
2. Overwatering, Underwatering, and Root Rot
Watering issues are one of the biggest reasons spider plants struggle.
Cause:
Overwatering leads to soggy soil, root rot, yellowing leaves, and mushy stems. Underwatering causes dry, curled leaves, brown tips, and slow growth.
Solution:
Let the top 1–2 inches of soil dry out before watering. Always use a pot with proper drainage to prevent water from sitting at the roots.
3. Yellowing Leaves
Yellow leaves are usually a sign that something isn’t quite right.
Cause:
Most often caused by inconsistent watering or roots becoming overcrowded in the pot.
Solution:
Check soil moisture levels regularly and repot the plant if it’s root-bound.
4. Leaf Burn (Sun Damage)
Too much direct sunlight can damage spider plant leaves.
Cause:
Exposure to strong, direct sun—especially in the afternoon—can cause leaves to develop pale, crispy brown patches.
Solution:
Move your plant to a location with bright, indirect light or filtered sunlight.
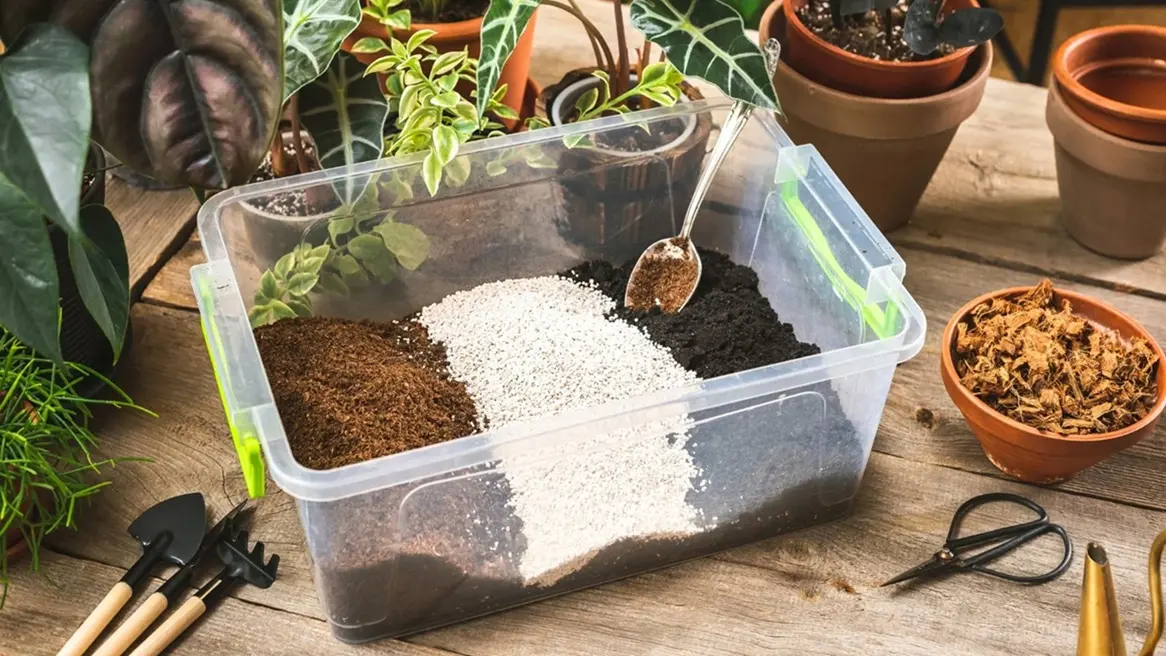
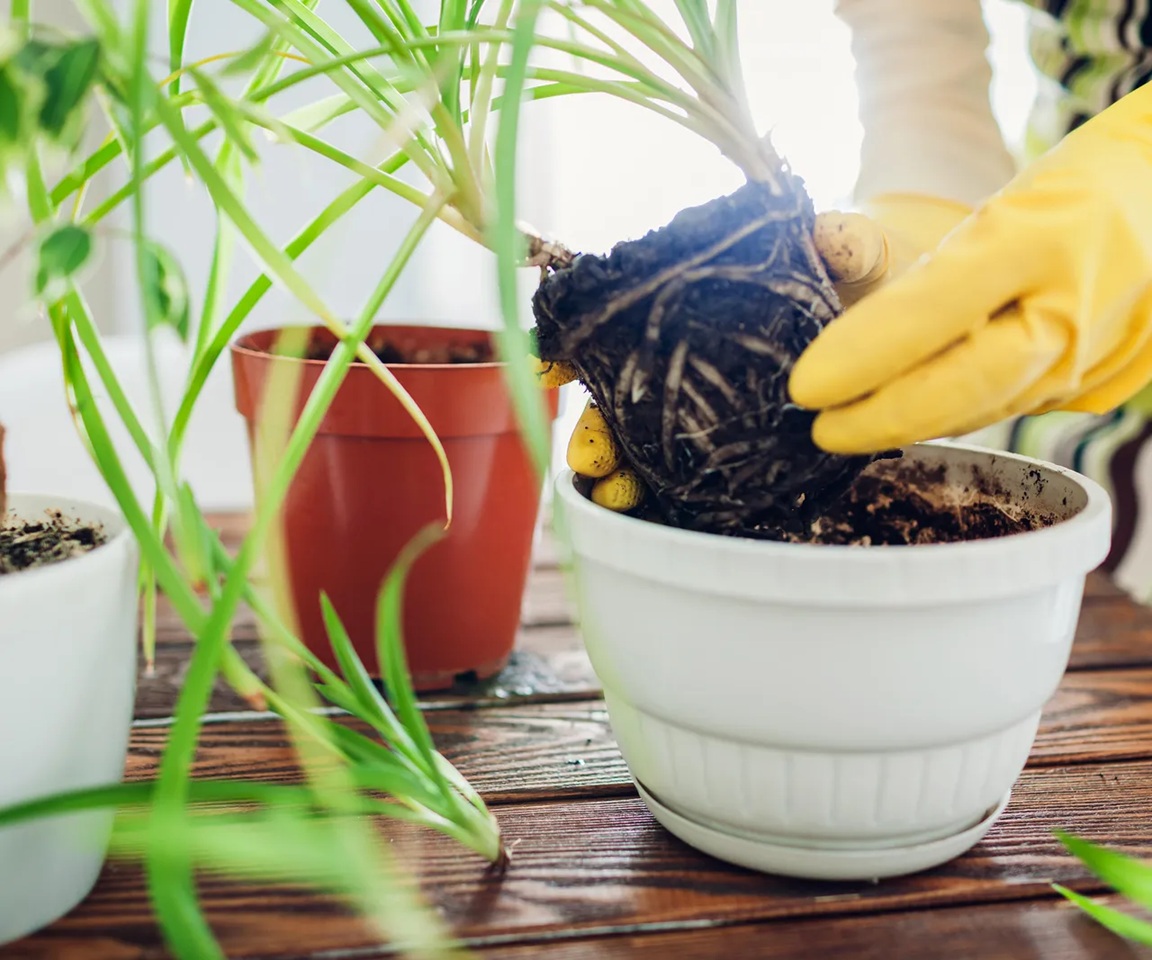
5. Root-Bound Plants (Crowded Roots)
Spider plants grow quickly and can outgrow their pots faster than expected.
Cause:
Their thick, tuberous roots fill the pot, limiting water absorption and slowing growth.
Solution:
Repot into a slightly larger container, ideally during the growing season (spring or early summer).
6. Incorrect Lighting Conditions
Light plays a major role in how well your spider plant grows.
Cause:
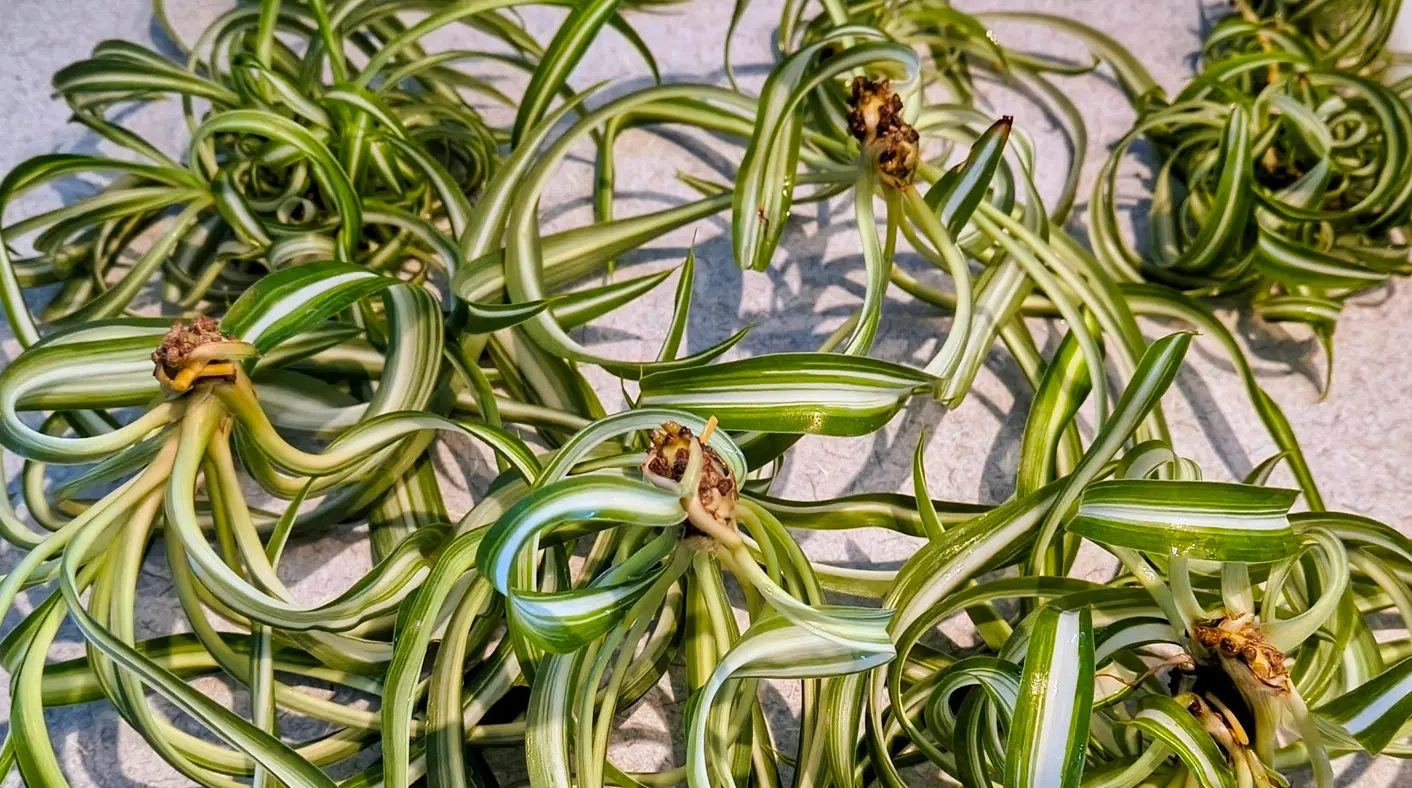
Too much light can scorch leaves, while too little light leads to weak, leggy growth and fewer spiderettes (baby plants).
Solution:
Place your spider plant in bright, indirect light—an east-facing window is often ideal.
7. Common Pests
While generally resilient, spider plants can still attract pests.
Cause:
Spider mites, aphids, whiteflies, and mealybugs feed on plant sap, weakening the plant over time.
Signs:
Sticky residue, fine webbing, or tiny insects on the undersides of leaves.
Solution:
Isolate the affected plant and treat it with insecticidal soap or neem oil. Regularly check nearby plants to prevent spreading.
Final Thoughts on Spider Plant Problems
Spider plants may be easy to care for, but they still depend on the right balance of light, water, and environment to truly thrive. When something goes off, they’ll let you know—it’s just a matter of recognizing the signs and responding quickly.
By paying attention to small changes like leaf color, soil moisture, and growth patterns, you can catch problems early and keep your plant healthy long-term. With the right adjustments, even a struggling spider plant can bounce back and continue producing strong, vibrant growth and plenty of babies.
Spider Plant Problems FAQ: Quick Answers to Common Issues
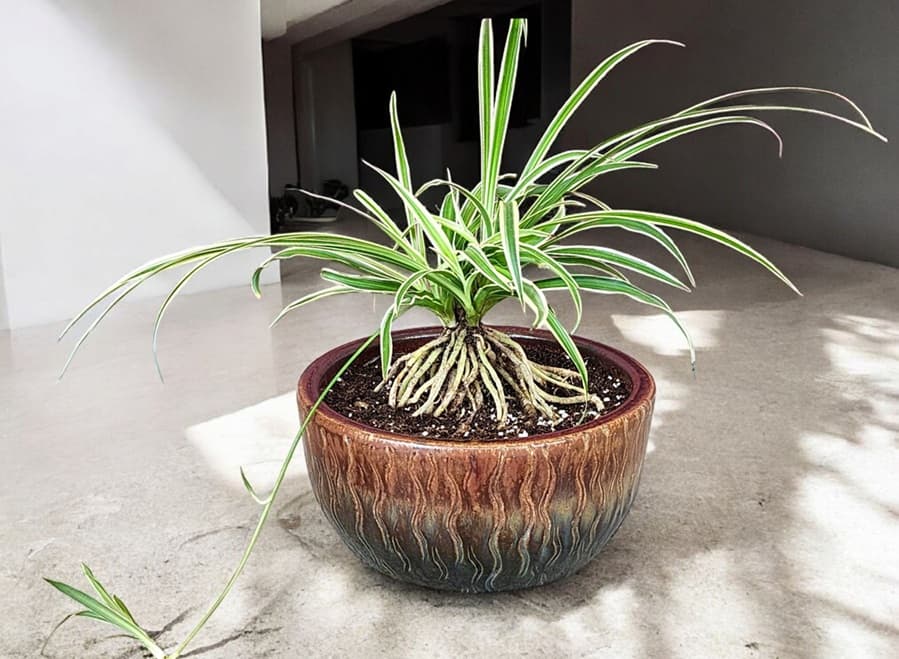
A spider plant suffering from overwatering, showing browning and yellowing leaves.
An overwatered spider plant will usually show yellowing leaves, soft or mushy stems, and a general droopy appearance, even though the soil is wet.
You may also notice a sour smell coming from the soil or blackened roots if you check below the surface. In more advanced cases, the base of the plant can start to rot.
If you suspect overwatering, let the soil dry out completely before watering again, and make sure your pot has proper drainage.
If root rot has already started, trimming damaged roots and repotting in fresh, well-draining soil can help save the plant.
Drooping after repotting is very common and is usually caused by transplant shock. When the roots are disturbed, the plant temporarily struggles to take up water, which causes the leaves to droop or look limp.
This typically improves within a few days to a couple of weeks as the plant settles in. Keep the soil lightly moist (not soggy), place the plant in bright, indirect light, and avoid fertilizing right away. As long as the roots weren’t heavily damaged, your spider plant should bounce back.
Repeat treatments every few days for at least 1–2 weeks to fully break the life cycle. It’s also important to isolate the affected plant to prevent mites from spreading to nearby houseplants. Increasing humidity can help as well, since spider mites thrive in dry conditions.
Yes, you can safely trim brown tips for appearance, but it’s important to understand that cutting them off doesn’t fix the underlying issue. Brown tips are usually caused by water quality, low humidity, or salt buildup from fertilizer.
Use clean scissors and trim the tips at an angle to match the natural shape of the leaf. At the same time, address the cause—switch to spring, filtered or rainwater, reduce fertilizer, or increase humidity—to prevent new browning.
Saving a struggling spider plant starts with identifying the cause. First, check the roots—if they’re mushy or black, trim the damaged sections and repot in fresh, well-draining soil. If the soil is bone dry, give the plant a thorough watering and adjust your schedule.
Move the plant to bright, indirect light, remove any severely damaged leaves, and avoid fertilizing until new growth appears. With the right adjustments, spider plants are very resilient and can recover even after significant stress.
Start by looking at the pattern of symptoms. Yellow leaves often point to watering issues, brown crispy tips suggest water quality or humidity problems, and pale or scorched patches usually indicate too much direct sunlight. Drooping can be caused by either overwatering or underwatering, so checking the soil moisture is key.
Also inspect the undersides of leaves for pests like spider mites or aphids. By matching the symptoms with common causes, you can narrow down the problem quickly and take the right corrective action.